Index
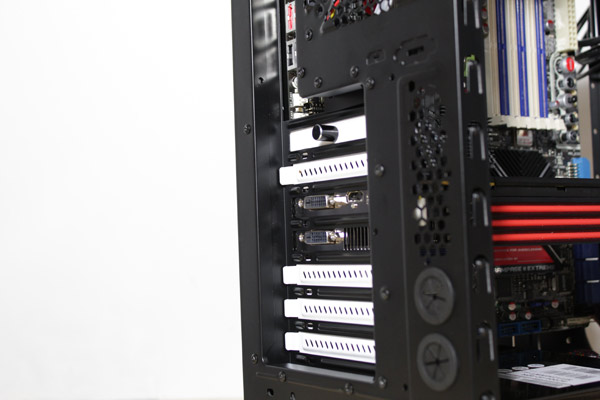
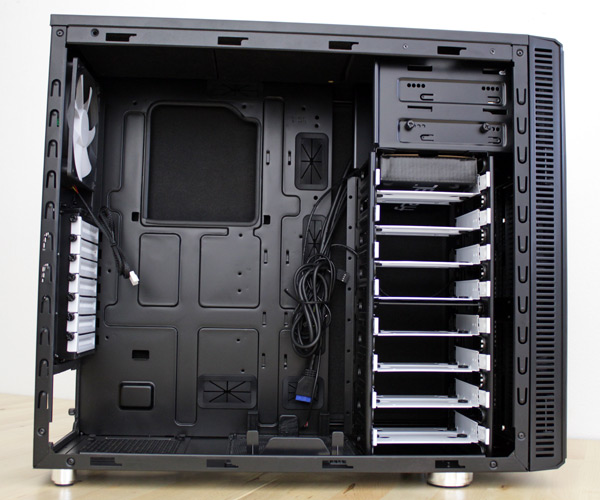
The Define R3 Black Pearl packs enough room for mini-ITX, micro-ATX and ATX boards. At a glance, everything looks pretty nice. Fractal Design’s cases are recognizable for the white expansion slot covers and white fans. Furthermore, there are a few white details inside and we really liked the design in general.
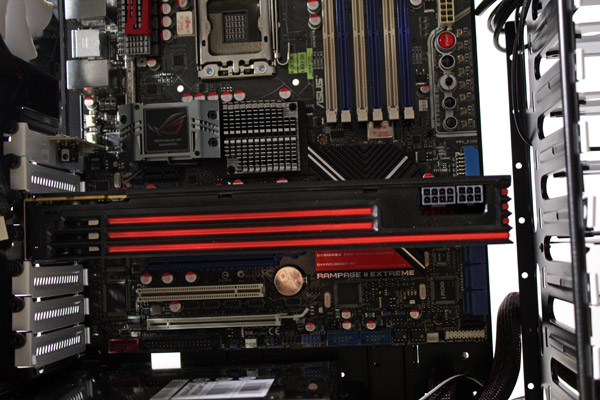
Define R3 is 521mm long but since the HDD cage is fixed, your graphics card should not exceed 29cm. However, this is enough for all standard high-end, single GPU graphics cards (HD 6970 is 27cm long).
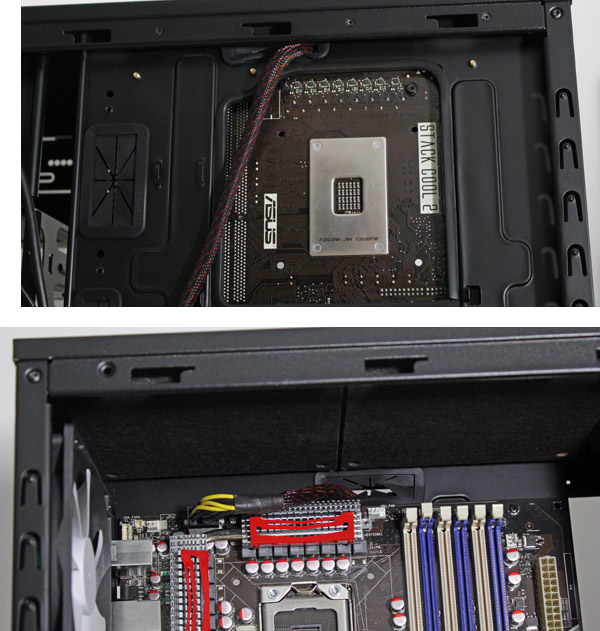
Our Define R3 took Asus’ Rampage II Extreme motherboard (269x305 mm, 10.6" x 12"). The case has a few cable management holes in the motherboard tray but, unfortunately, our Rampage II closed off most of them. However, the case is designed with such scenarios in mind so the cables can still be routed between the HDD cage and the tray.
The motherboard tray has a big CPU backplate cutout which will make swapping CPU coolers easy as pie.
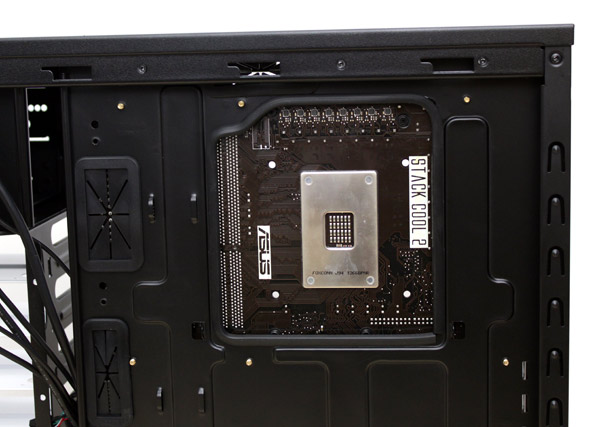
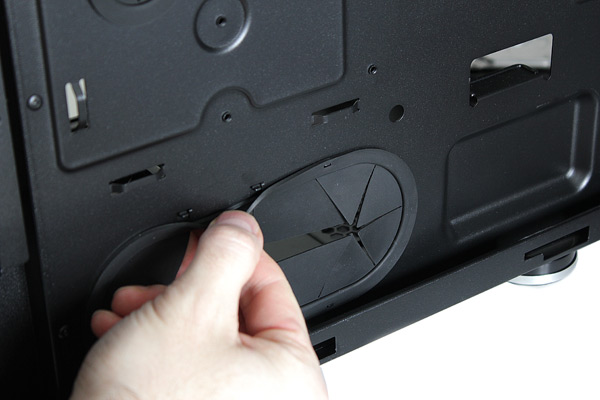
Fractal Design used rubber on cable management holes and the CPU backplate cutout, which is a really nice touch.
If we were to pick hairs, then we’d like to see the company implement something similar to what we’ve seen on the Trooper, picture below. Namely, the rubber parts are held in place by clips.
The case has a few notches for cable management on the back of the motherboard tray, but they are positioned a bit too close to each other. Again, we must mention the Trooper, as the case has a much better distribution of the notches (picture above).

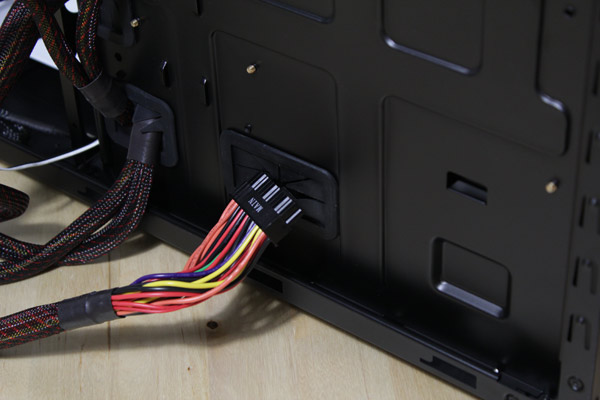
Above the CPU backplate cutout is a smaller but very practical hole for the CPU power cable.
Define R3 is wider than most mid-tower computer cases, which means that it will easily take taller CPU coolers (up to 165mm).
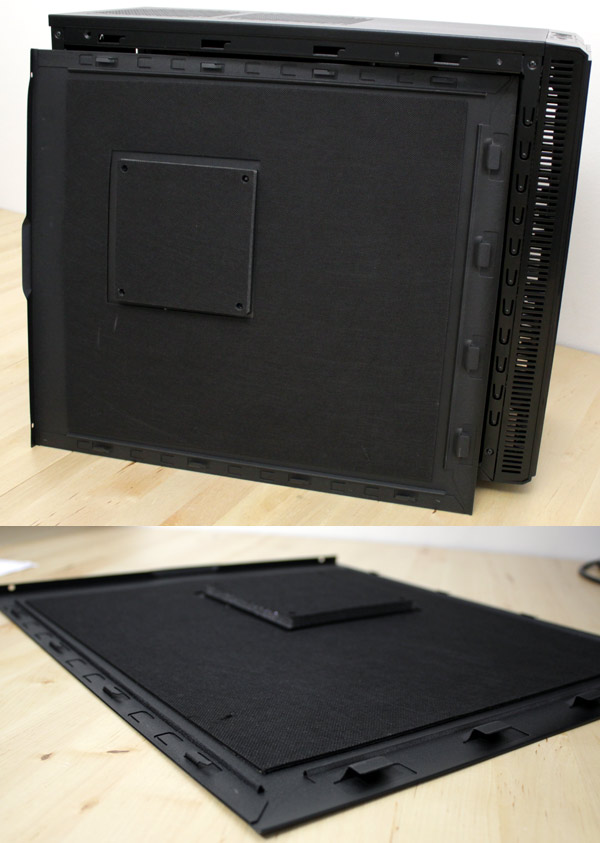
The sound isolation material on the side panels is only a few millimeters thick so it won’t get in the way of coolers or make cable management difficult.
The exhausts on the top panel are closed, just like those on the left, but unscrewing four screws will make room for 12cm/14cm fan. What’s great about this case is that, although it aims for silence, it can easily be optimized for maximum airflow.
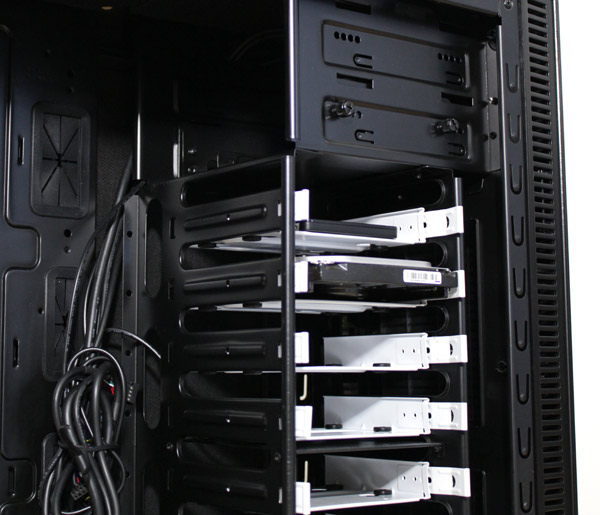
The front panel can be removed but mounting 5.25’’ drives will only require taking of the covers. Optical drives are fixed with thumb screws, as the company didn’t include a toolless mechanism. Most of the screws in the case are big-head ones, so you won’t be needing tools. We must admit we didn’t miss a toolless mechanism because screws beat badly implemented locking mechanisms any day.


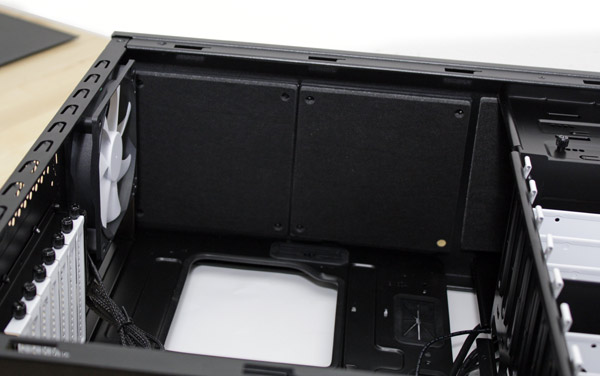
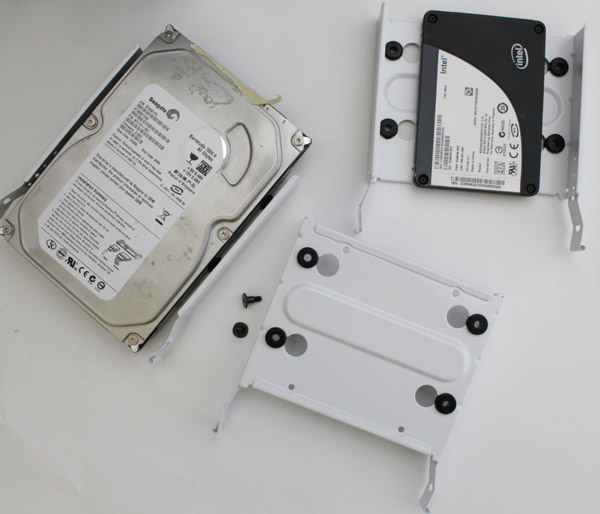
The 3.5’’ cage cannot be removed, but it’s very tough. You’ll find grommets in every bay but they’ll only work for 3.5’’ drives (2.5’’ SSD drives don’t make vibrations). Each of the bays will take 3.5’’ or 2.5’’ drives.
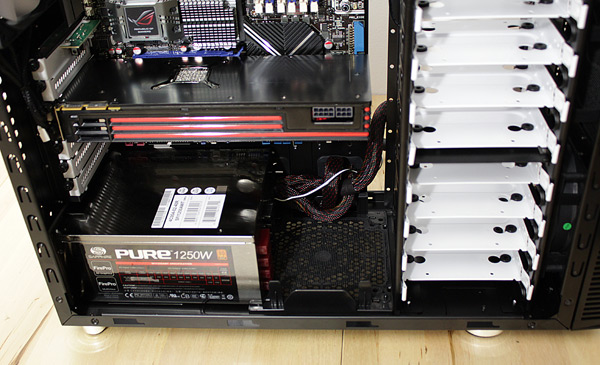
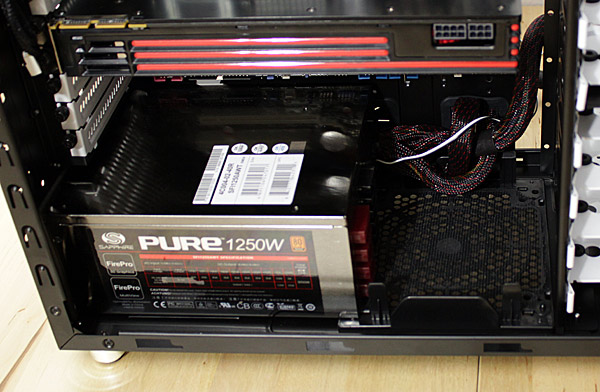
The PSU is mounted on the bottom and you’ll find a rubber seal for suppressing vibration noise. Pure 1250W is 19cm long so we had to take the dust filter out. However, standard PSUs will fit without problems.
When running at maximum rpm, the fans aren’t quite what we’d call unbearably loud but they’re still audible. Thankfully, the fan controller can, and in our case did, take care of that as we lowered the rpm to make them barely audible.