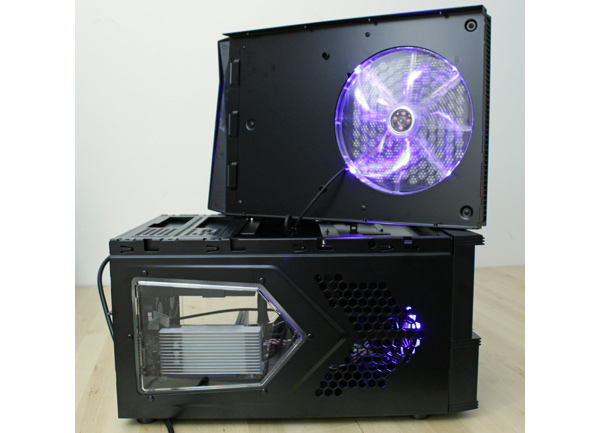
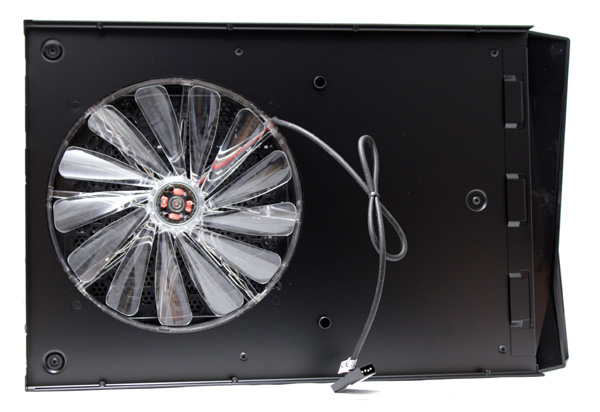
Removing the top panel allows access to components inside. The top panel holds a 230mm fan (800rpm, 15dBA), which connects via Molex.
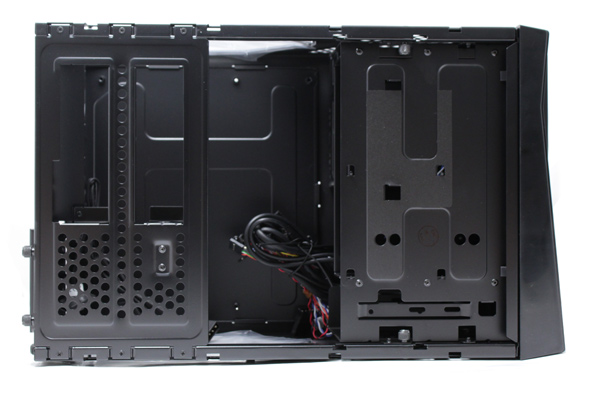
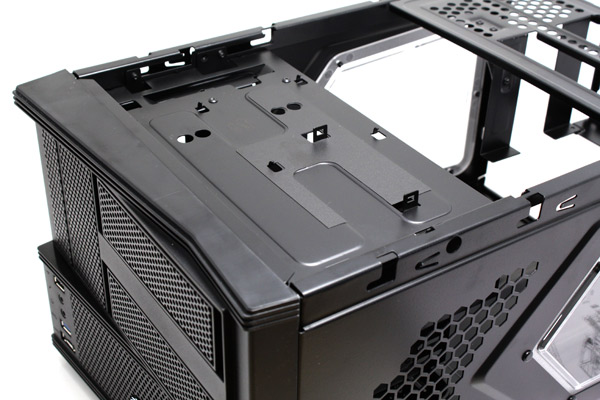
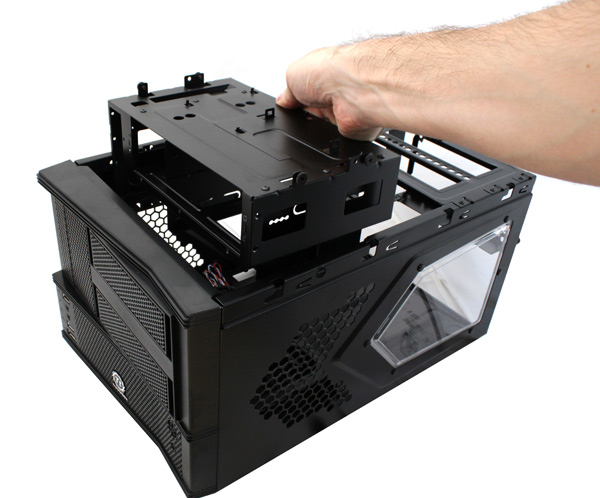
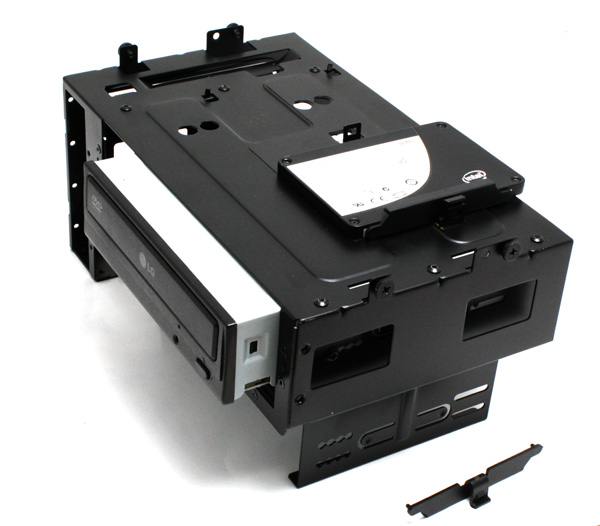
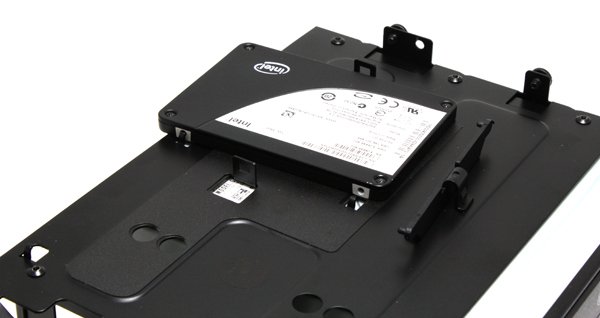
Apart from the two 5.25’’ and one 3.5’’ drive, the console will take another two 2.5’’ drives, thanks to the included plastic brackets.
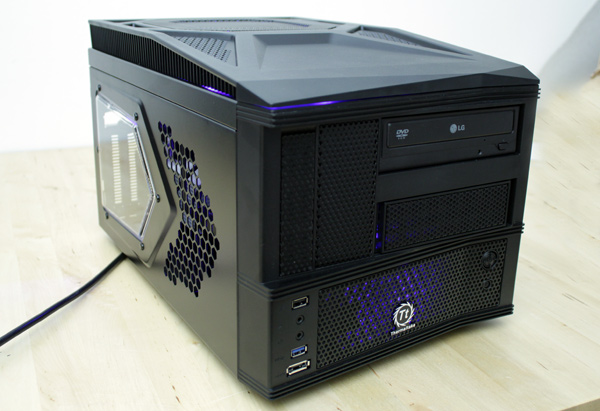
After removing the front panel, you can see the connectors, fans and the standard status LEDs.
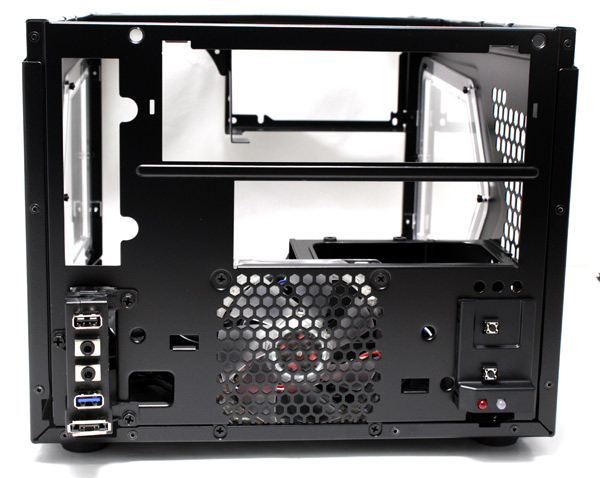
Standard 3.5’’ drives are mounted in a separate console attached to the bottom of the case. In order to access it, you’ll have to remove the 5.25’’ console first.
The smaller console will take two 3.5’’ drives, where rubber grommets prevent vibration and resulting noise.
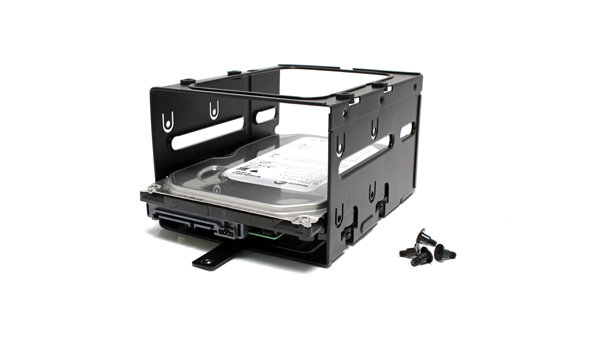
The motherboard tray can be removed, which will be a godsend for many users. Namely, it makes mounting motherboards, CPU coolers and expansion cards easy.
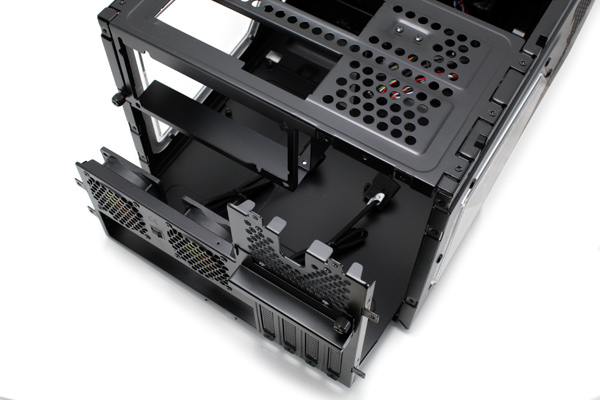
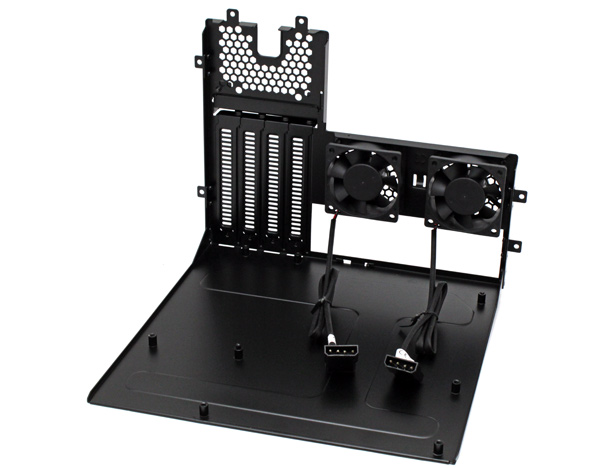
The ATX PSU is mounted in a cage that’s above the motherboard, which explains why CPU coolers must be less than 90mm high. We recommend using a modular PSU due to limited space inside.
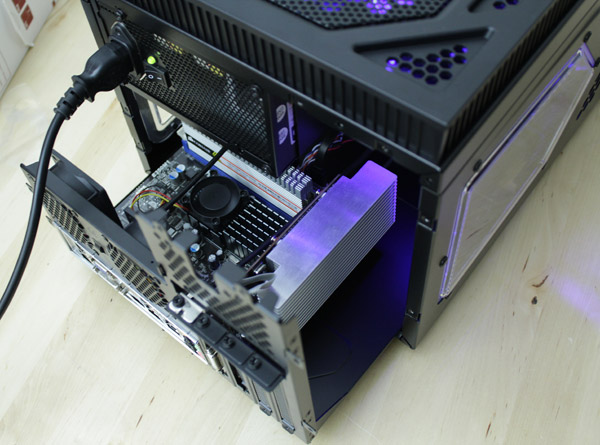
The Armor A30 will take the longest of graphics cards. However, you should mind the motherboard design because dual slot cards such as Radeon HD 6970 can only fit if they’re placed in the first expansion slot.
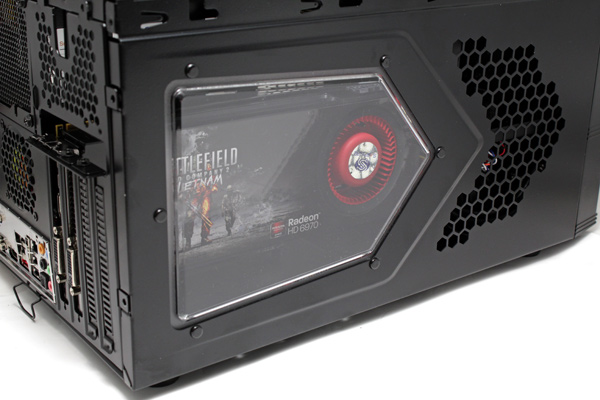
The Armor A30 was easy to fill up with components but cable management was a bit difficult. However, Thermaltake’s cable ties ended up being a godsend and we managed to finish the job quickly.
Modular parts of the case made our life much easier. Once all the consoles are removed from the case, there is almost nothing left inside.
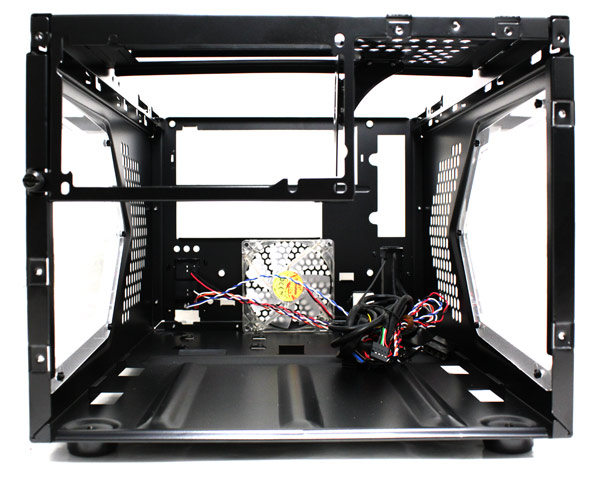
Combination of a large 230mm fan with three smaller fans and additional outlets/inlets yielded quite good results. Namely, the Armor A30 is almost inaudible yet remains very efficient in cooling.
